Installation guidelines#
To follow along with this tutorial and write (and run!) your own Python code, Python needs to be installed, as well as Jupyter Notebook and some other Python-based packages. There are several ways to install these applications and packages, outlined below. After installing these applications, you should test that everything works as expected.
If at any point you need help with installation, please reach out to the Centre for Digital Scholarship.
Install Python#
Python is a programming language that requires an interpreter to run your code. In this course, we use Jupyter Notebook to create notebooks that contain code and formatted text and to run the code interactively. Some parts of the course also require external packages.
There are several ways to install these prerequisites:
Install the Anaconda distribution. Anaconda is a commercial distribution of Python that includes Jupyter Notebook and the packages we use.
Install Python and the other applications separately. This requires less storage space, but more manual steps.
Do not install anything, but use a hosted Jupyter Notebook environment. This requires a stable internet connection, potentially an account for the service and managing files on the remote system.
Install the Anaconda distribution of Python#
Anaconda is a commercial distribution of Python that includes Jupyter Notebook and the packages we use. It is free for educational purposes, but using it in other contexts may require a paid subscription.
If you use a laptop that is managed by Universiteit Leiden, it is possible that you can install Anaconda through the software center directly, or request it to be installed via the ISSC Helpdesk portal. See Install or request software on the university website for more information.
Otherwise, install the free Anaconda distribution of Python 3 from the Anaconda website. There are instructions for Windows, MacOS and Linux.
See Anaconda’s installation instructions for some important points to consider during installation. For example, the installation path must not contain spaces. If you want to use Anaconda Python from the command line, it helps to add Anaconda to your PATH during the installation, even though this is not recommended by the installer.
Test your Anaconda installation#
If the installation process was successful, you should be able to open an application named ‘Anaconda Navigator’. The opening page of this application looks as follows:
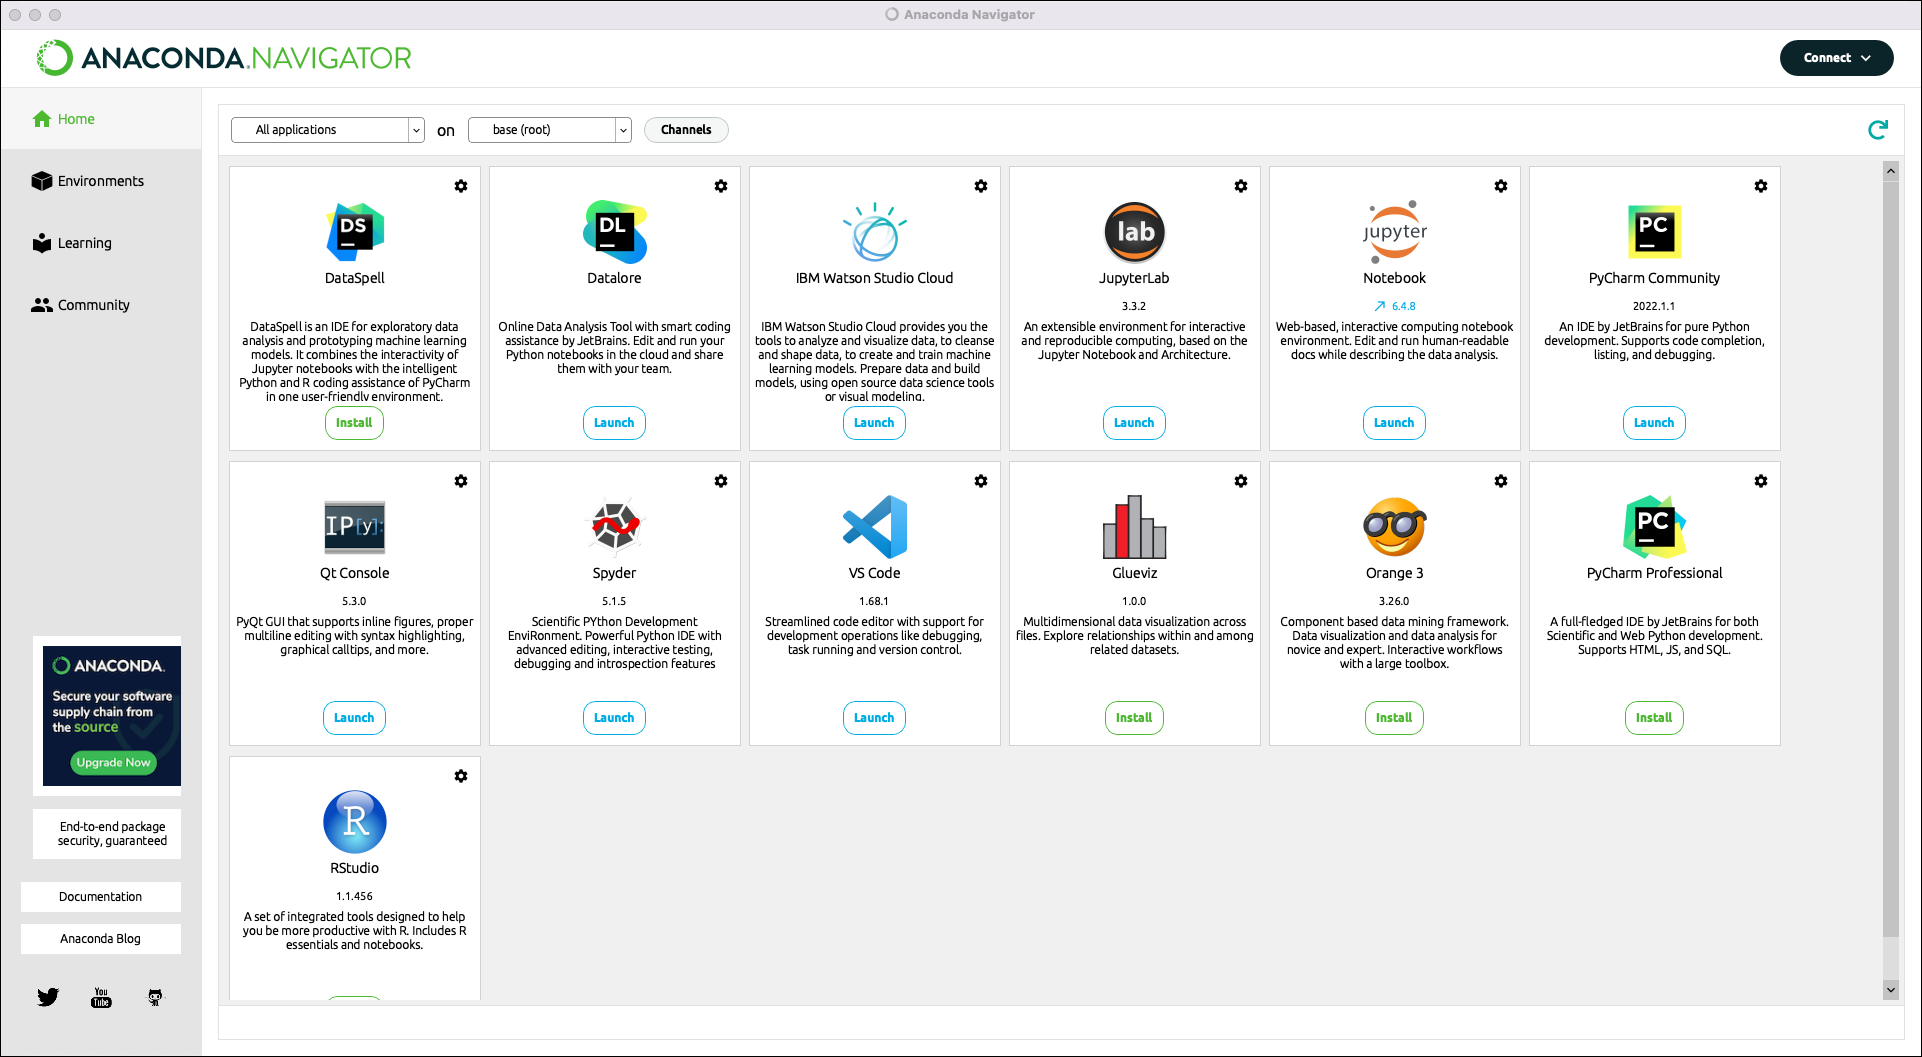
Anaconda Navigator is a platform which can be used to to launch other applications, such as ‘Jupyter Notebook’ or ‘Spyder’.
To test whether everything works well, launch ‘Jupyter Notebook’ using Anaconda Navigator. Jupyter Notebook is an interactive environment in which you can work with so-called notebooks. The application should open in a web browser.
Installing Python and Jupyter Notebook without Anaconda#
You first need to make sure that Python is installed correctly on your computer.
If you use a laptop that is managed by Universiteit Leiden, it is possible that you can install Python through the software center directly, or request it to be installed via the ISSC Helpdesk portal. See Install or request software for more information.
Otherwise, download the latest version of the Python installer and run the installer. There are installation instructions for various operating systems in the Beginner’s Guide.
Once Python is installed, open Terminal on MacOS or the Command Prompt on Windows (Start > All Programs > Accessories > Command Prompt). Type the following:
pip install notebook
After this, you can test whether the installation was successful by typing:
jupyter notebook
Jupyter Notebook should then open in your default web browser, potentially after a short delay.
Working with a hosted version of Jupyter Notebook#
In case it is not possible to install software on your laptop, using an online Notebook environment may help.
Each service has its advantages and disadvantages, compared to a local installation.
You will need an account and will need to manage getting your files on the service and getting the results back to your computer.
Some services automatically end interactive sessions when users are not interacting for a certain amount of time.
When that happens, unsaved changes may be lost.
Researchers at Universiteit Leiden can use the Interactive Notebooks service provided by the EU-funded European Open Science Cloud for free. It requires the setup of the File Sync and Share service so that you can upload and download notebooks and other files. When you save your notebooks in Jupyter Notebook, they will be stored in the File Sync and Share service.
Another hosted notebook environment is Google Colab. While this platform does not use Jupyter Notebook, it works in the same way. You have to have a Google account to use it and you must connect Colab to Google Drive for storing notebooks and other files.
Jupyter Notebook interface#
When you open Jupyter Notebook, you should initially see the application’s dashboard.
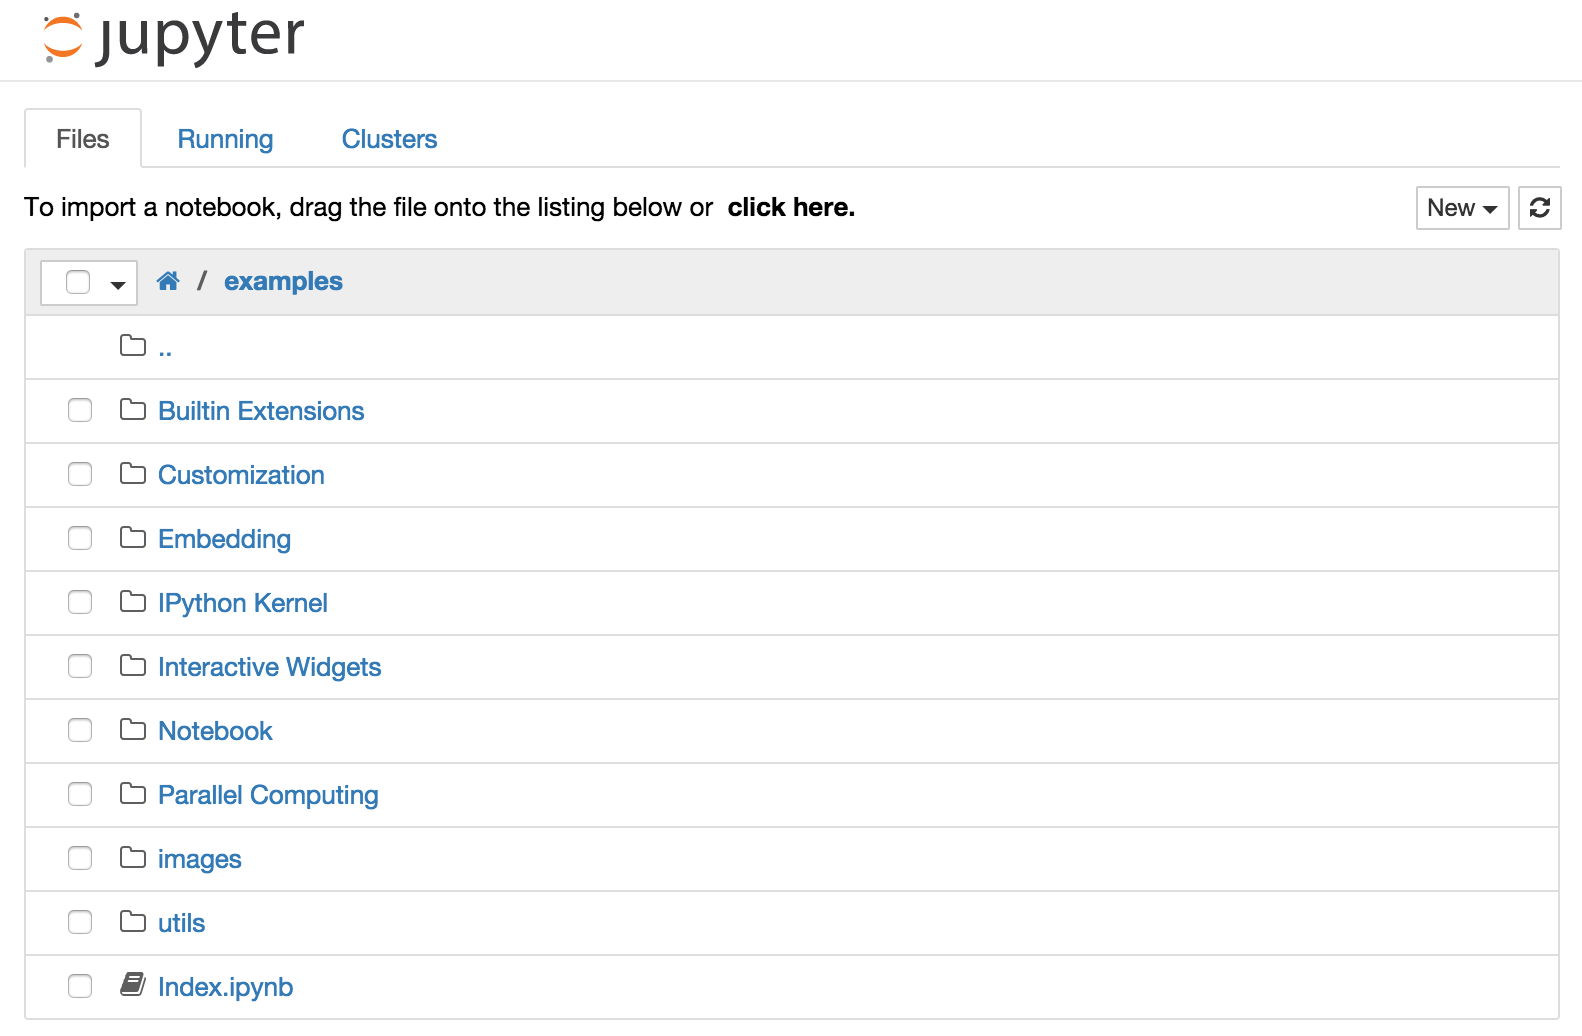
This dashboard displays a specific driectory on your own machine. The folders and files that are mentioned will probably be different from those shown in the screenshot above.
From the directory you see, you can hopefully navigate to the folder containing all the notebooks you downloaded for this tutorial. Try to open the notebook named ‘Jupyter_notebook_basics.ipynb’ to test whether everything works as expected.
Ask for help with installation#
If you experience difficulties during the installation of this software, do not hesitate to contact the CDS via email. If necessary, you can make an appointment and ask us to help you install the software.